After spending countless hours researching, talking with professional DJs, and experimenting with different configurations, I’ve created this comprehensive guide to help you master your CDJ setup.
Did you know that nearly 90% of clubs worldwide use Pioneer CDJs as their standard setup? Whether you’re just starting your DJ journey or looking to upgrade your home studio, understanding CDJ setup is crucial, in my opinion, for any aspiring DJ.
I’ve gathered insights from club technicians, experienced DJs, and online communities to bring you everything you need to know about creating the perfect CDJ setup in 2024!
Essential Components for a CDJ Setup
Let’s kick things off with the fundamental pieces you’ll need for a proper CDJ setup. The core components haven’t changed much over the years, but the technology keeps evolving!
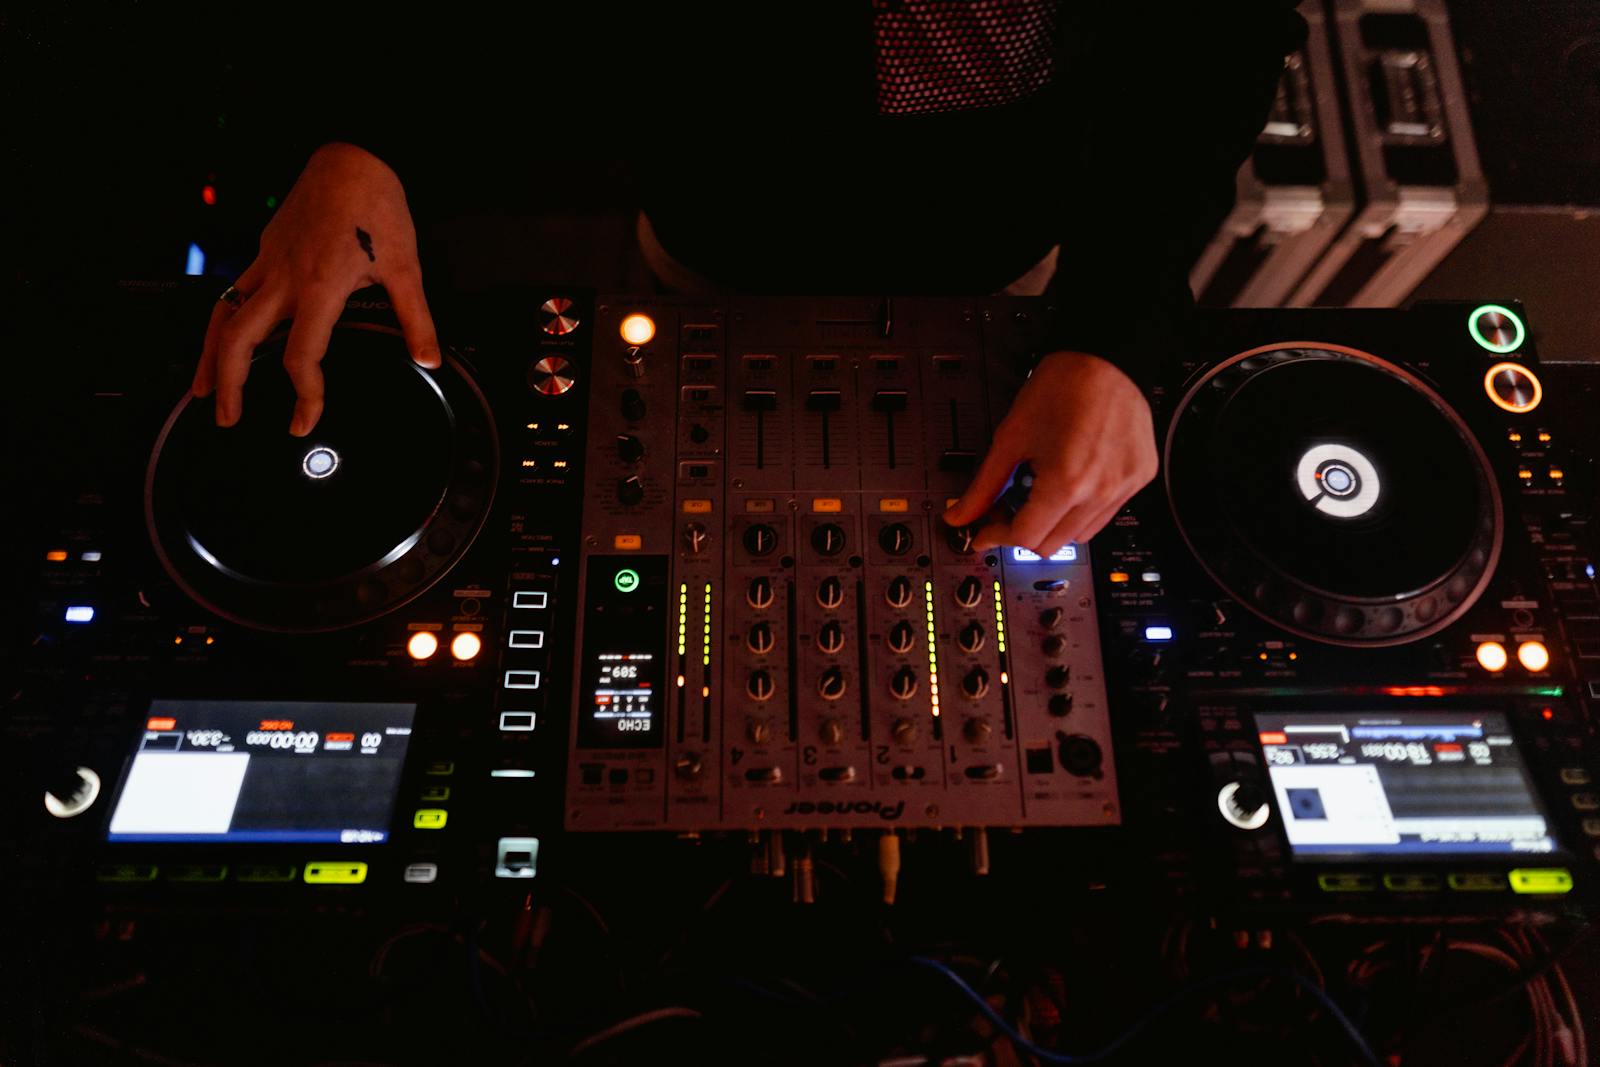
Your basic CDJ setup should include:
- 2-4 Pioneer CDJ players (CDJ-3000s are the current flagship model)
- A DJM mixer (DJM-900NXS2 is the club standard)
- High-quality audio cables (XLR, RCA etc.)
- Power supplies and conditioning
- Monitoring solution (speakers and headphones)
For those just starting, you can expect to invest anywhere from £1,500 for a basic setup to over £5,000 for professional-grade equipment. Trust me – it’s worth saving up for quality gear that will stand the test of time.
When it comes to Pioneer DJ, their equipment is top quality with robust construction that is built to last!
I have owned various pieces of kit by Pioneer and can vouch for their unparalleled quality. It is the industry club standard gear you’ll see in 95% of nightclubs.
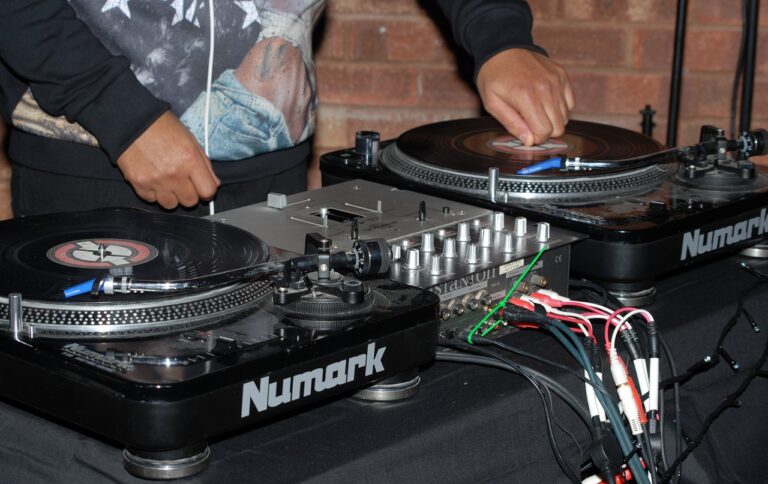
But, other brands such as Denon and Numark, make CDJ alternatives, simply referred to as “DJ player” or even “CD player”, that will do the job just the same.
Basic CDJ Setup Configuration
If you’re new to CDJ setup, start with a basic configuration. A perfectly functional entry-level setup includes two CDJ-2000NXS2 players and a DJM-750MK2 mixer. This combination gives you professional features without breaking the bank.
Here’s how to set up your basic CDJ configuration:
- Position your CDJs on either side of your mixer
- Connect power cables to a surge protector
- Run audio cables from each CDJ to the corresponding mixer channels
- Connect your mixer’s master output to your speakers
- Set up your booth monitors if you have/need them
The spacing between your CDJs and mixer is crucial for comfortable mixing. I recommend leaving about 2-3 inches between each unit. This gives you enough room to access controls while maintaining a compact setup.
Also, consider the height of your setup – most club-standard furniture places CDJs at about 36-40 inches from the ground.
Remember, proper cable management is crucial – I learned this the hard way! Keep your power cables separate from your audio cables to prevent interference. I recommend using cable ties and routing guides to keep everything neat and professional.
Another thing to bear in mind is that, CDJ’s and a Mixer takes up quite a lot of space as they are not small items. For example, the DJM900NXS2 mixer is 30cm wide, 42cm long, 11cm high and weighs a whopping 8kg!
Professional Club-Standard Setup
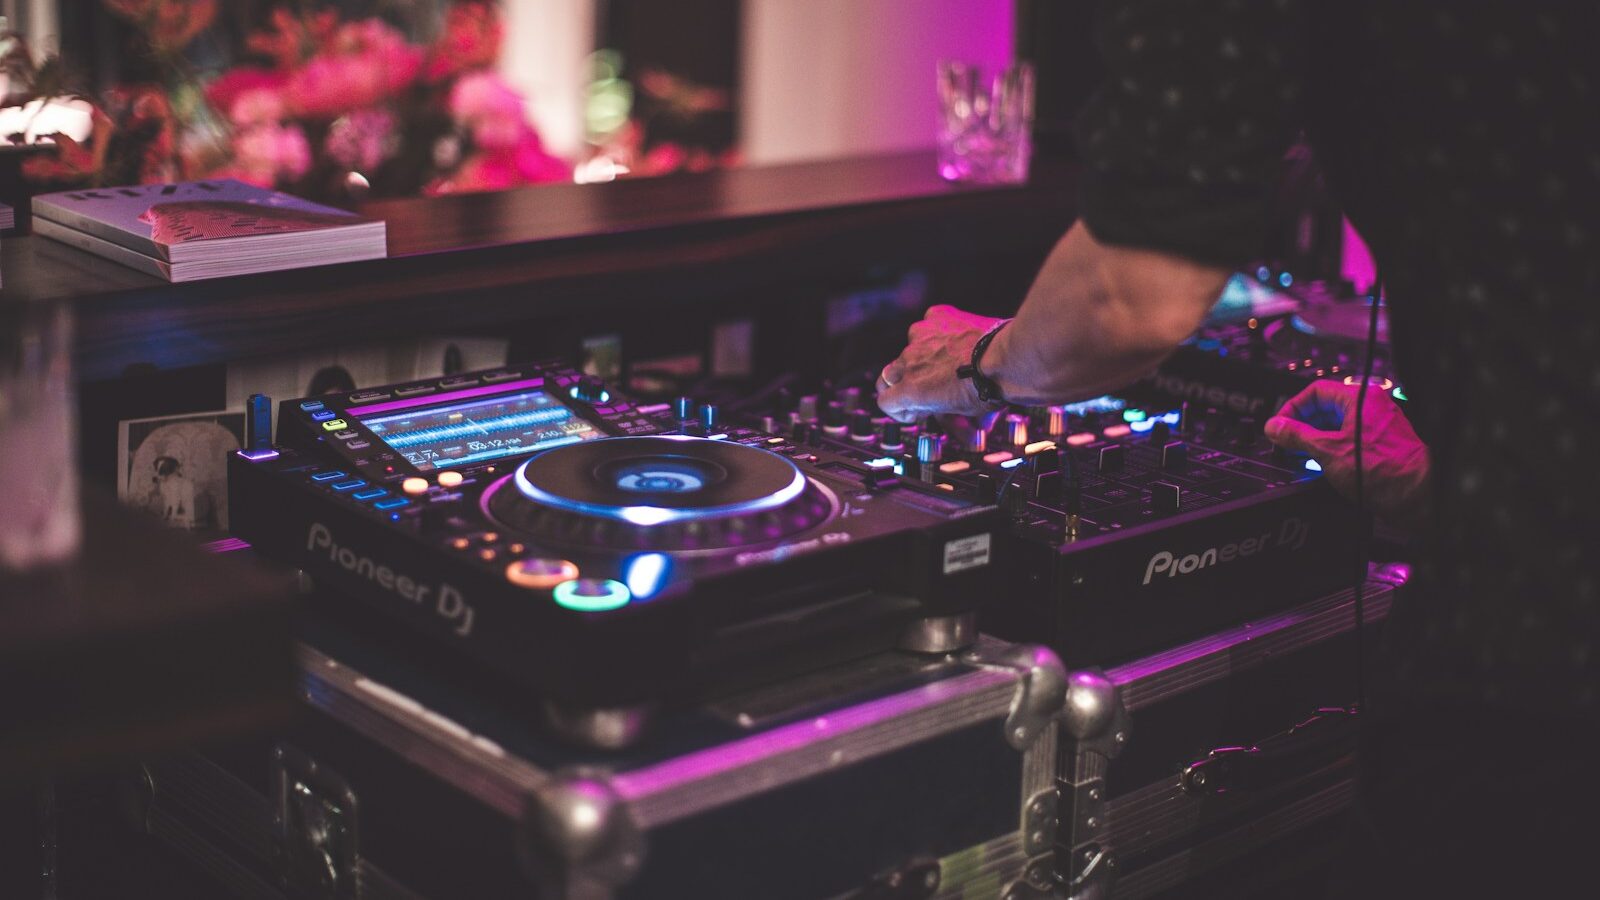
Ready to level up? A professional CDJ setup typically consists of:
- 4 x Pioneer CDJ-3000s (£2,299 each) approx
- 1 x DJM-900NXS2 mixer (£2,199) approx
- Professional audio interface
- Backup power solutions
- Network hub for Pro DJ Link
The CDJ-3000s represent the pinnacle of digital DJ technology, offering incredible stability and features that justify their premium price point. The most significant improvements over previous models include:
- Enhanced audio quality with 96kHz/32-bit DAC
- Improved jog wheel performance with reduced latency
- More powerful processor for faster track analysis
- Larger, higher-resolution touch screen
- Eight hot cue buttons instead of four
When setting up multiple CDJ-3000s, the Pro DJ Link network becomes essential, allowing seamless integration with Rekordbox and synchronized player functionality. I recommend using a dedicated gigabit network switch for the most stable connection.
CDJ Setup Step-by-Step
Let’s break down the complete CDJ setup process:
- Clear your space and plan your layout
- Position your mixer centrally
- Place CDJs at comfortable angles
- Connect power supplies
- Run audio cables to mixer channels
- Set up network connections
- Configure audio outputs
- Test all connections thoroughly
Pro tip: Always lift CDJs from their bases, never by the screen or top panel! I’ve seen expensive equipment damaged by improper handling. When moving CDJs, always use their original boxes or professional flight cases.
For optimal performance, ensure your power source is clean and stable. Many DJs overlook this, but power conditioning can prevent many common issues like ground loop hum and random player resets.
Digital Integration and Software
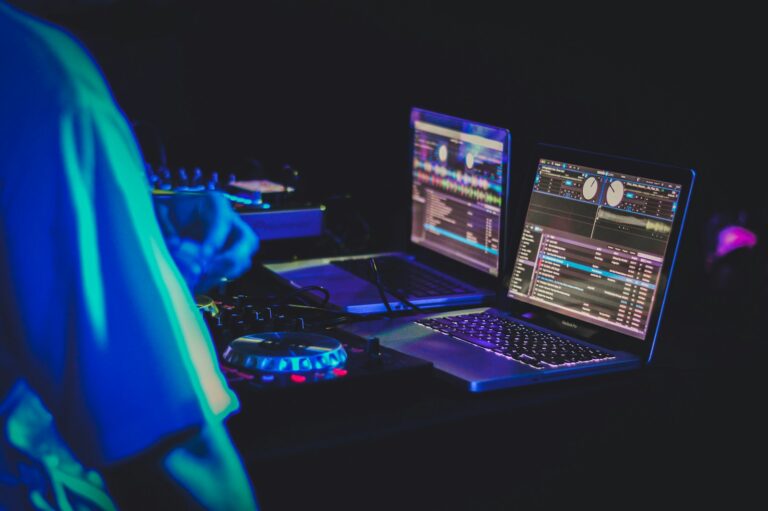
Modern CDJ setup isn’t complete without proper digital integration. Rekordbox is the backbone of any Pioneer CDJ system. Here’s what you need to do:
- Install the latest version of Rekordbox
- Format your USB drives correctly (FAT32)
- Organize your music library
- Export your prepared tracks
- Configure Pro DJ Link settings
The beauty of a proper CDJ setup is the seamless integration between hardware and software. When configured correctly, you’ll have instant access to all your cue points, loops, and track analysis data.
I recommend using high-quality USB drives with at least 64GB storage. Always keep a backup drive ready – I’ve had USB failures during gigs, and having a backup saved the day! Also, consider these digital preparation tips:
- Analyze all tracks before exporting
- Set memory cues for key mixing points
- Create intelligent playlists for quick access
- Export multiple USB drives for backup
- Regular database maintenance
Advanced Features and Customization
Once your basic CDJ setup is running smoothly, explore these advanced features:
- Custom hot cue configurations
- Quantized loop settings
- Effects routing through the mixer
- MIDI mapping for external control
- Network redundancy options
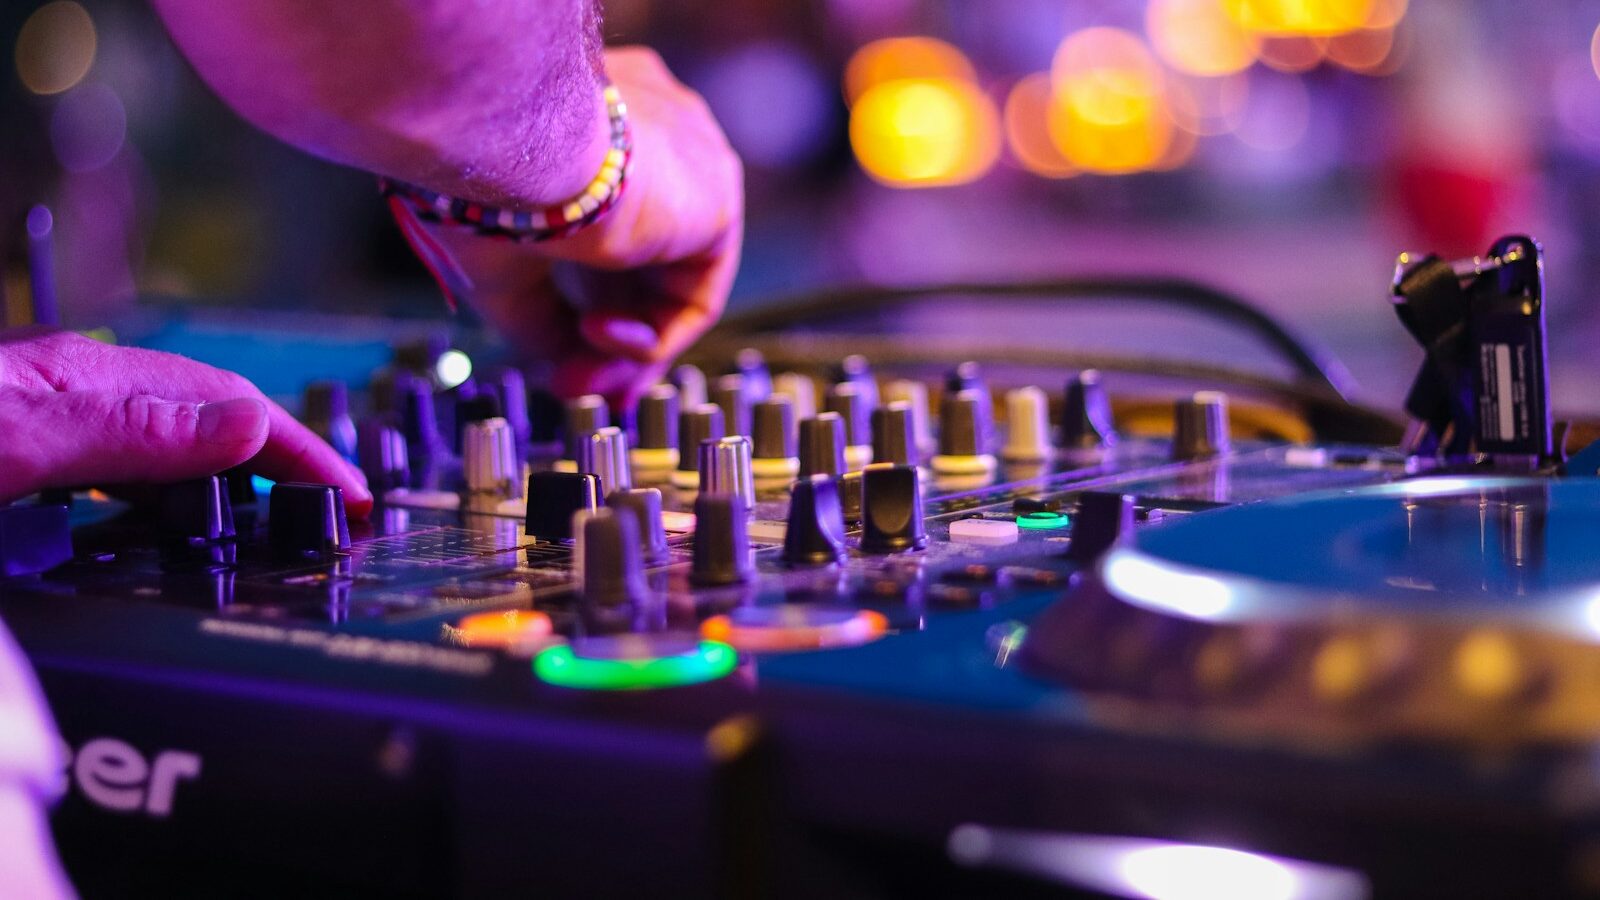
I particularly love using multiple effects chains on the DJM-900NXS2 – it adds incredible dynamics to transitions when used tastefully. The key is to practice with these features at home before using them in live performances.
Some advanced setup tips I’ve learned over the years:
- Use custom EQ curves for different music styles
- Set up user preferences on each CDJ
- Configure crossfader curves for your mixing style
- Create custom effect combinations
- Set up different monitoring configurations
Monitoring and Sound Quality
A crucial aspect of any CDJ setup is proper monitoring. Here’s what you need to consider:
- High-quality booth monitors
- Professional DJ headphones
- Proper speaker placement
- Acoustic treatment (for home setups)
- Volume management
I recommend investing in both over-ear and on-ear headphones. Over-ears for precision mixing at home, and on-ears for club environments where you need to hear both the monitors and your headphone cue.
Also, noise cancellation is a must if you’re playing out in clubs! Not being able to hear over the club speakers through your headphones is a sure fire way to undermine your skills (trust me on this one!) as its almost impossible to correctly match beats.
Maintenance and Care
To keep your CDJ setup performing optimally:
- Clean jog wheels and faders weekly
- Update firmware regularly
- Check cable connections monthly
- Keep equipment covered when not in use
- Schedule professional servicing annually
Trust me, regular maintenance will save you from embarrassing technical issues during performances! Keep a maintenance log for all your equipment, which helps track when services are due.
Specific maintenance tasks include:
- Using contact cleaner on faders
- Checking and tightening chassis screws
- Cleaning air vents
- Testing all buttons and controls
- Inspecting cable integrity
It may be a good idea to let a professional service your equipment until you learn more about it. Yes, it will cost money but it’s better than potentially damaging your super expensive kit. DJ equipment is complex machinery!
Conclusion
A proper CDJ setup is a significant investment, but it’s your gateway to professional DJ performance. You will have the proper club feel in your bedroom!
Start with the basics and upgrade gradually as your skills and needs evolve. Remember, even the most expensive CDJ setup won’t make you a better DJ overnight – practice and dedication are key!
Take time to understand each component of your setup, and don’t be afraid to experiment with different configurations. Whether you’re practicing at home or performing in clubs, a well-planned CDJ setup will give you the confidence to focus on what really matters……….creating unforgettable experiences for your audience!
Ready to start building your dream CDJ setup? Begin with the essential components we’ve discussed, and remember – every professional DJ started exactly where you are now. Second hand is ok but make sure you inspect them thoroughly and ask about their history (servicing, club use.)
The journey to mastering your CDJ setup is exciting, and I’m confident this guide will help you avoid the common pitfalls we’ve encountered over the years.
Have questions about your specific CDJ setup needs? Feel free to reach out to us – We’re always happy to help fellow DJs on their journey!
